How to Create ZATCA-Compliant POS Invoices and Refunds in Invent ERP?
Invent ERP’s Point of Sale (POS) system is fully integrated with ZATCA e-invoicing regulations in Saudi Arabia, allowing businesses to issue simplified invoices and refunds directly from the POS while automatically submitting the required documents to ZATCA.
Step-by-Step Process
Creating a POS Invoice
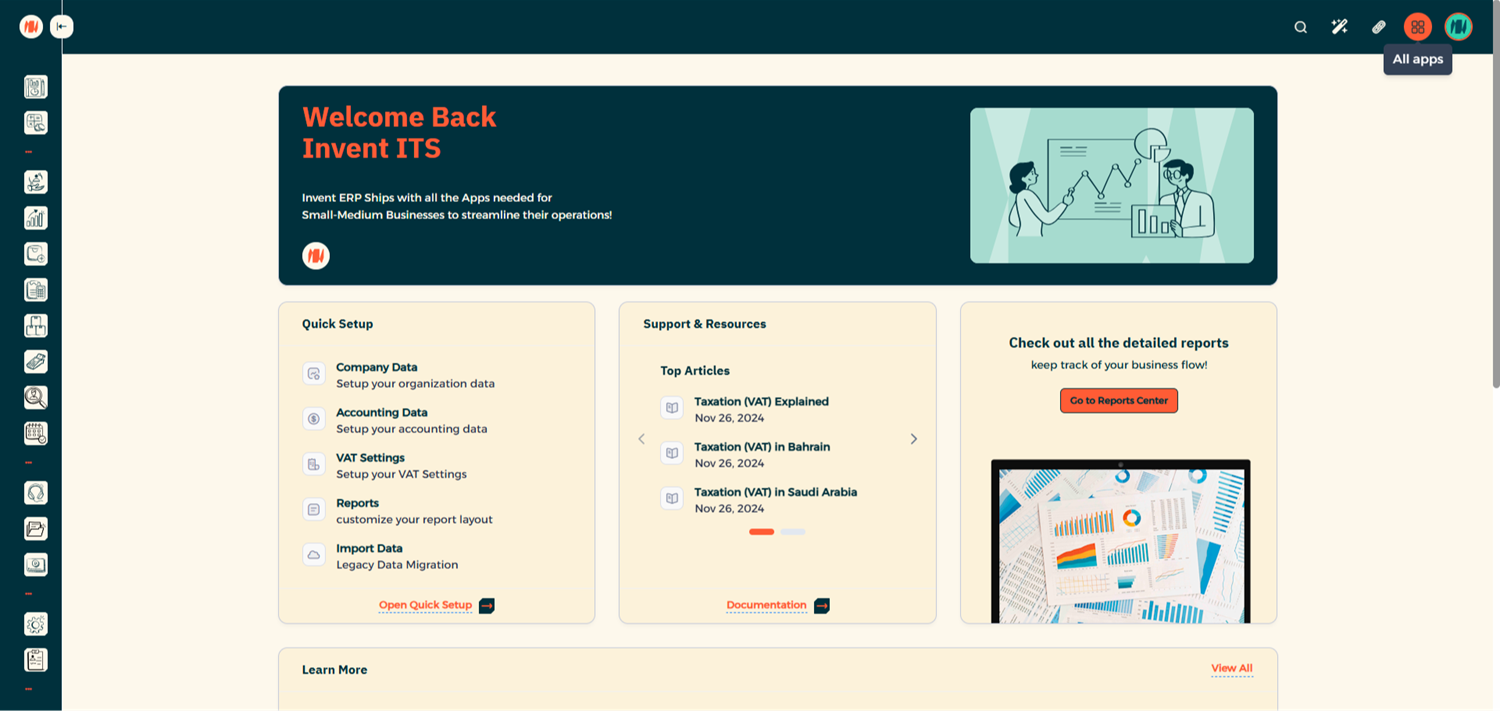
Step 1: Open the Point of Sale
From All Apps
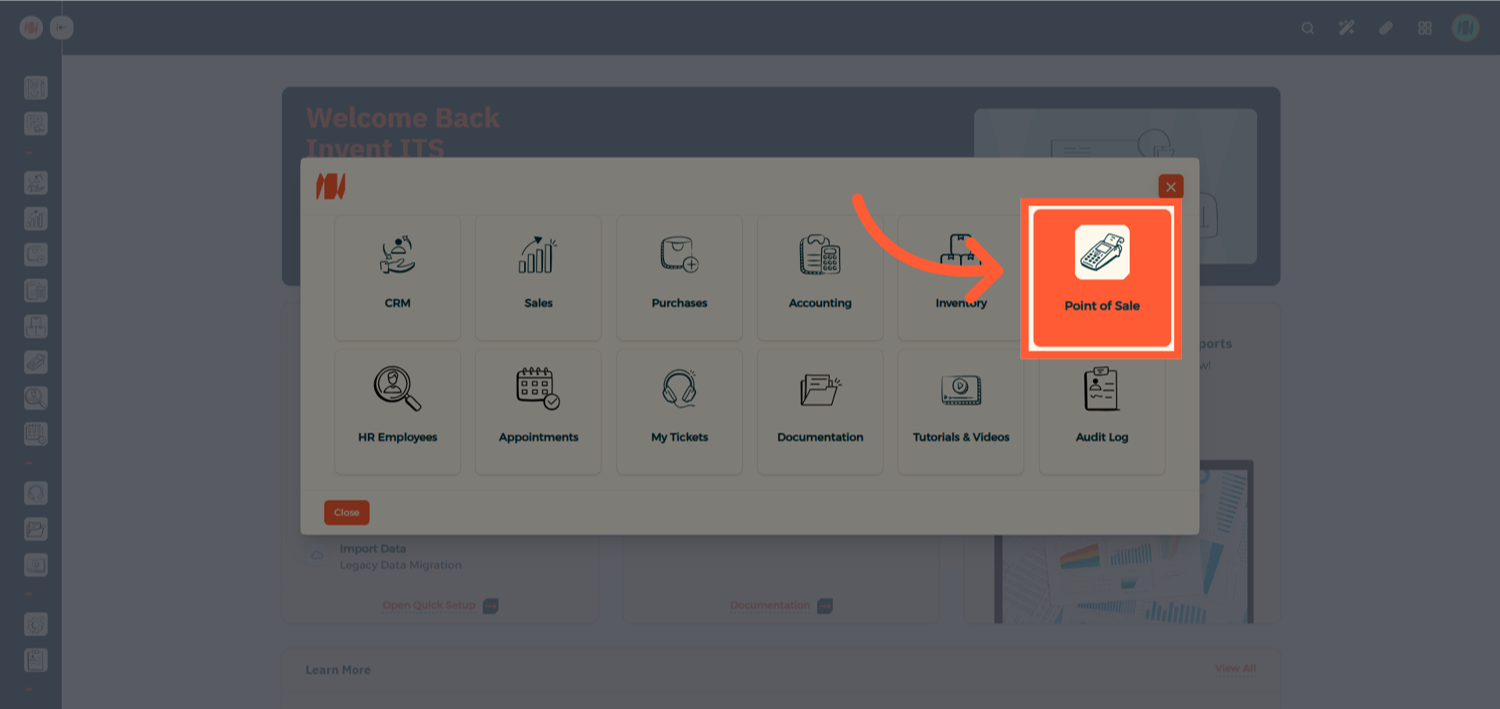
Navigate to Point of Sale
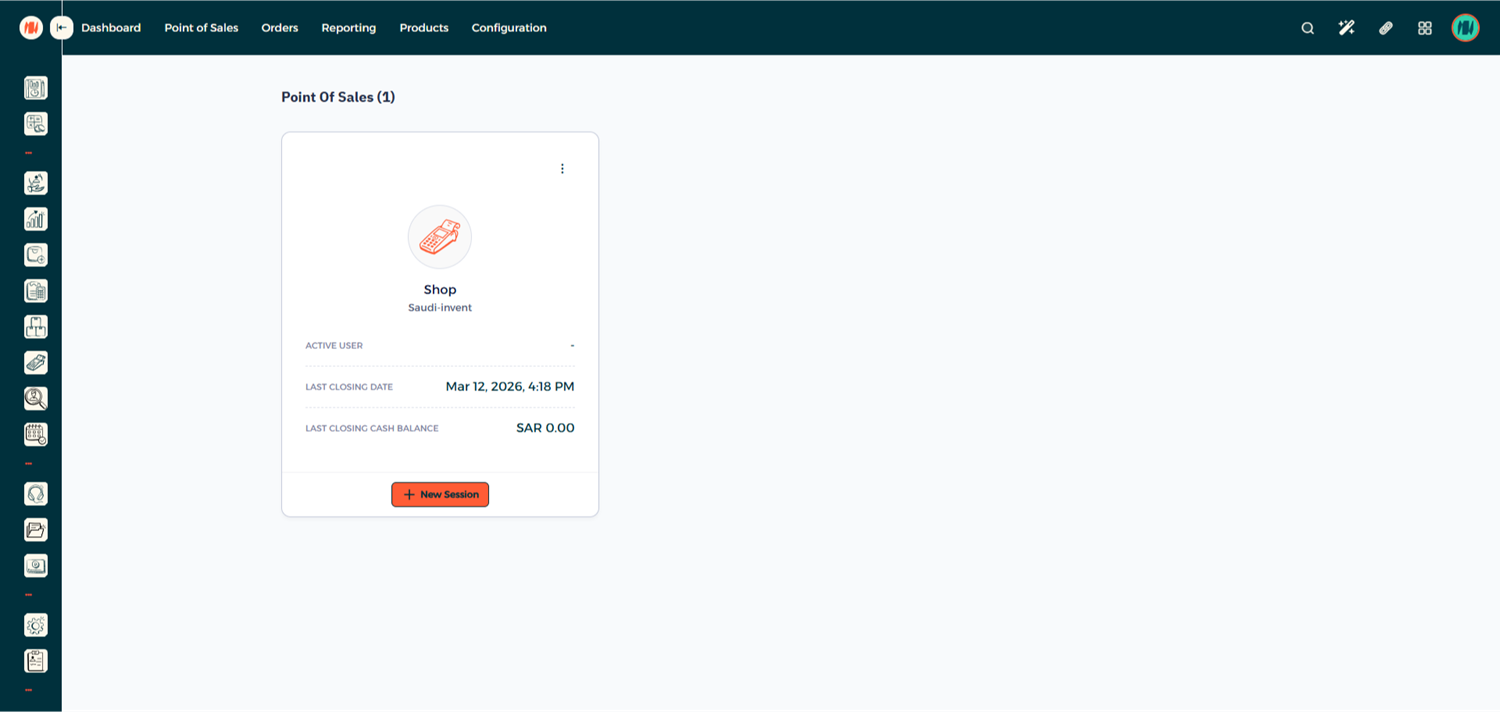
Step 2: Enter Your POS Session
Step 3: Start a New Order
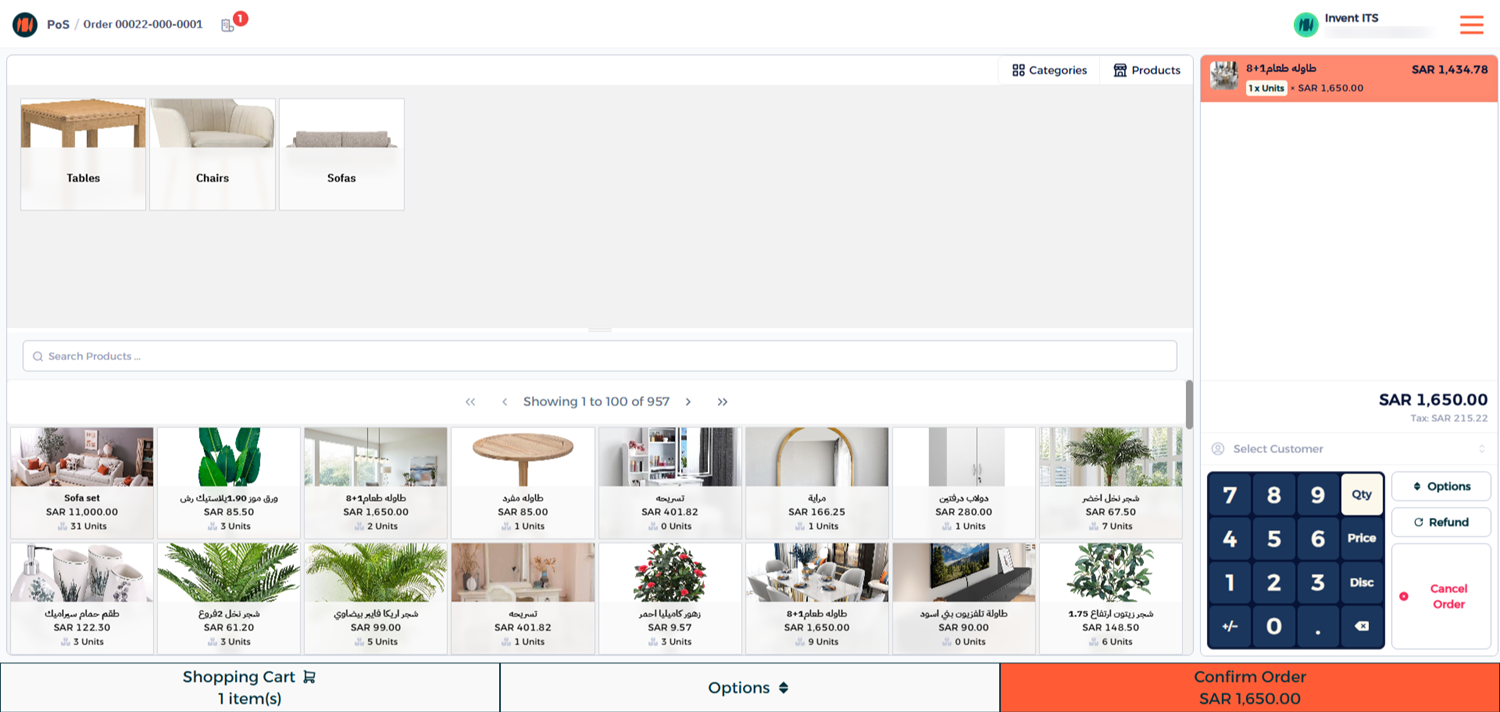
Step 4: Select the Customer
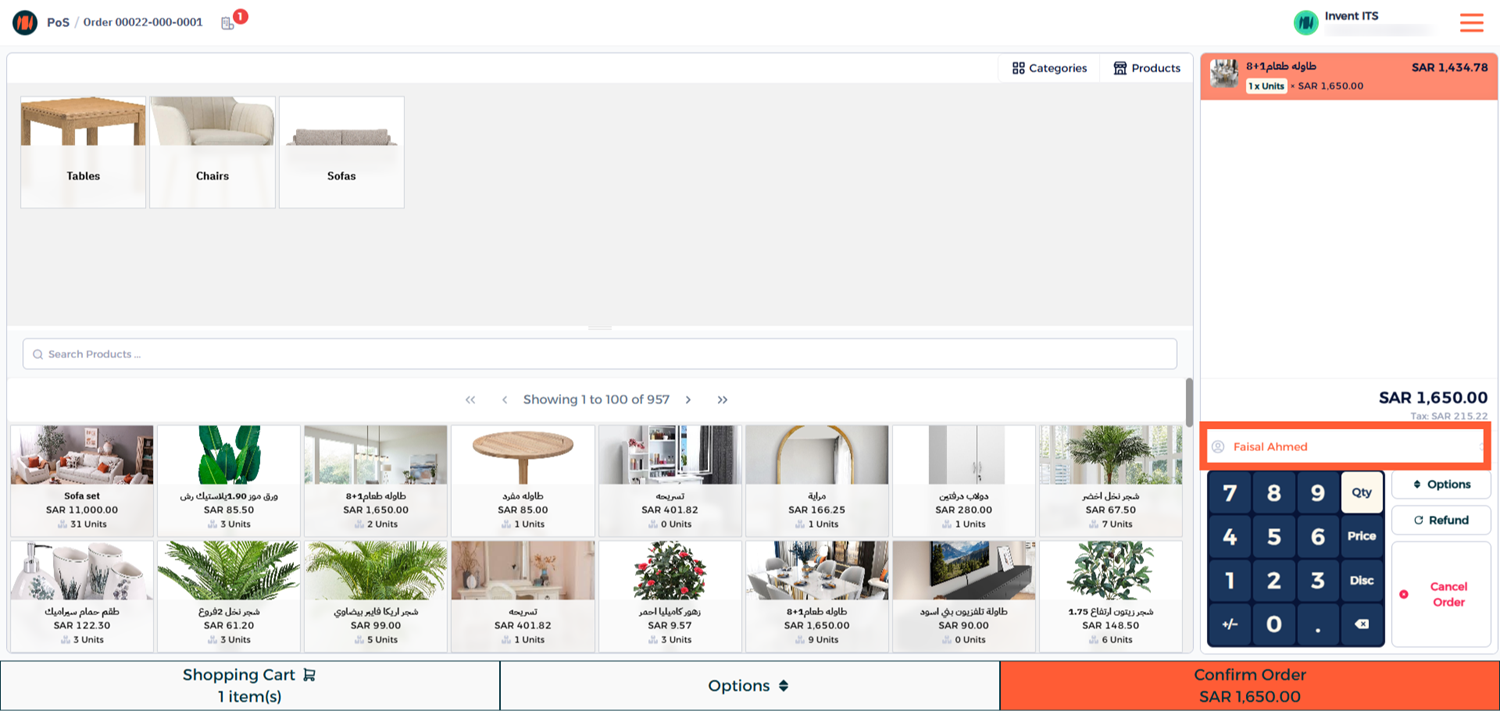
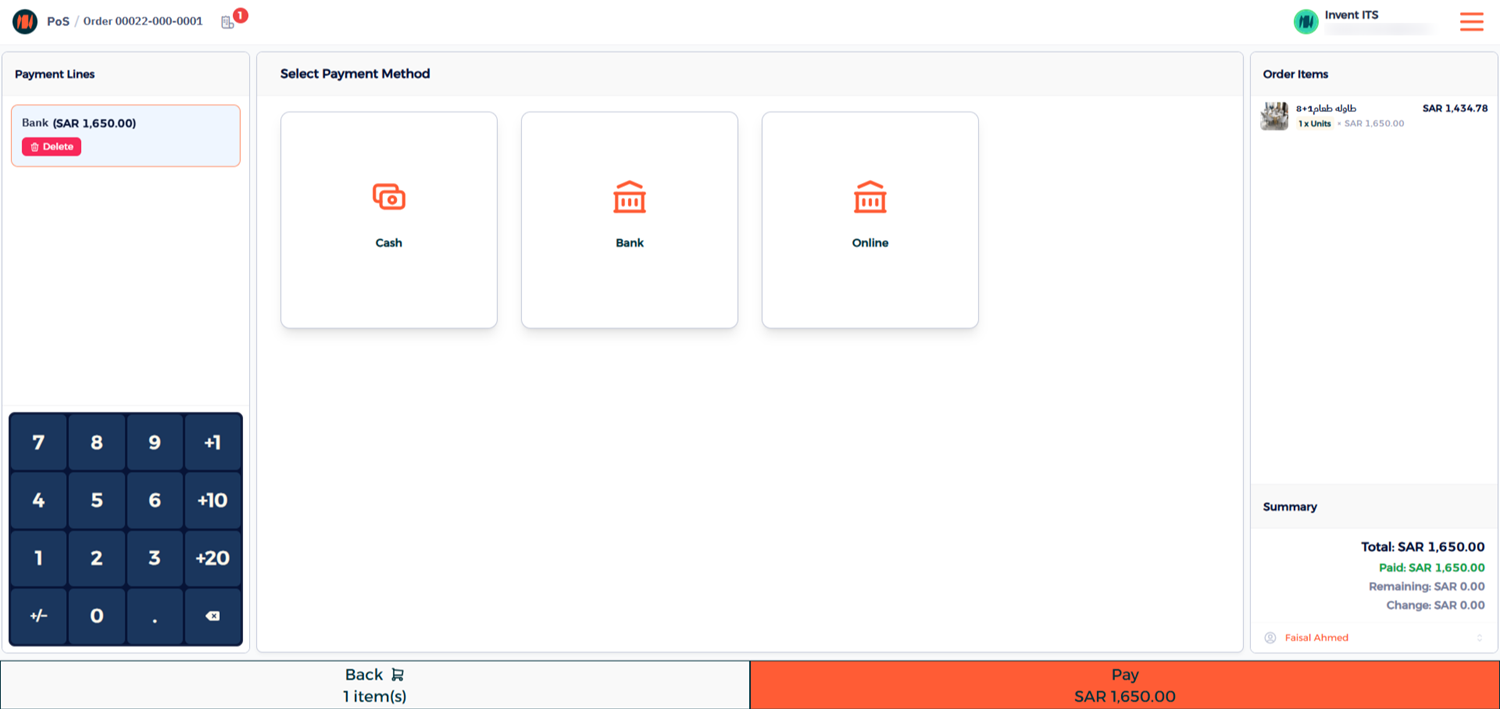
Step 5: Complete the Payment
Choose the payment method and click Pay to finalize the transaction.
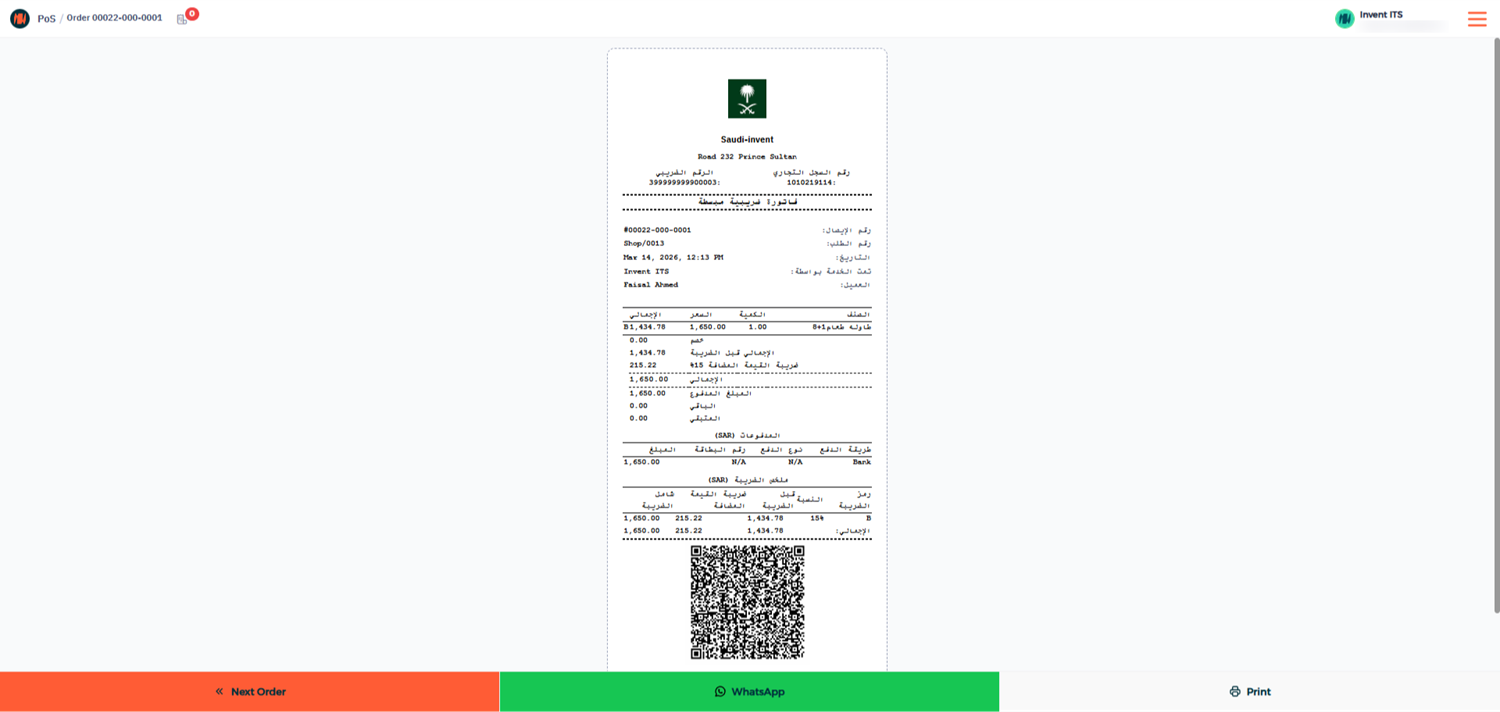
Once the payment is completed, the system will immediately generate a simplified invoice within the POS interface.
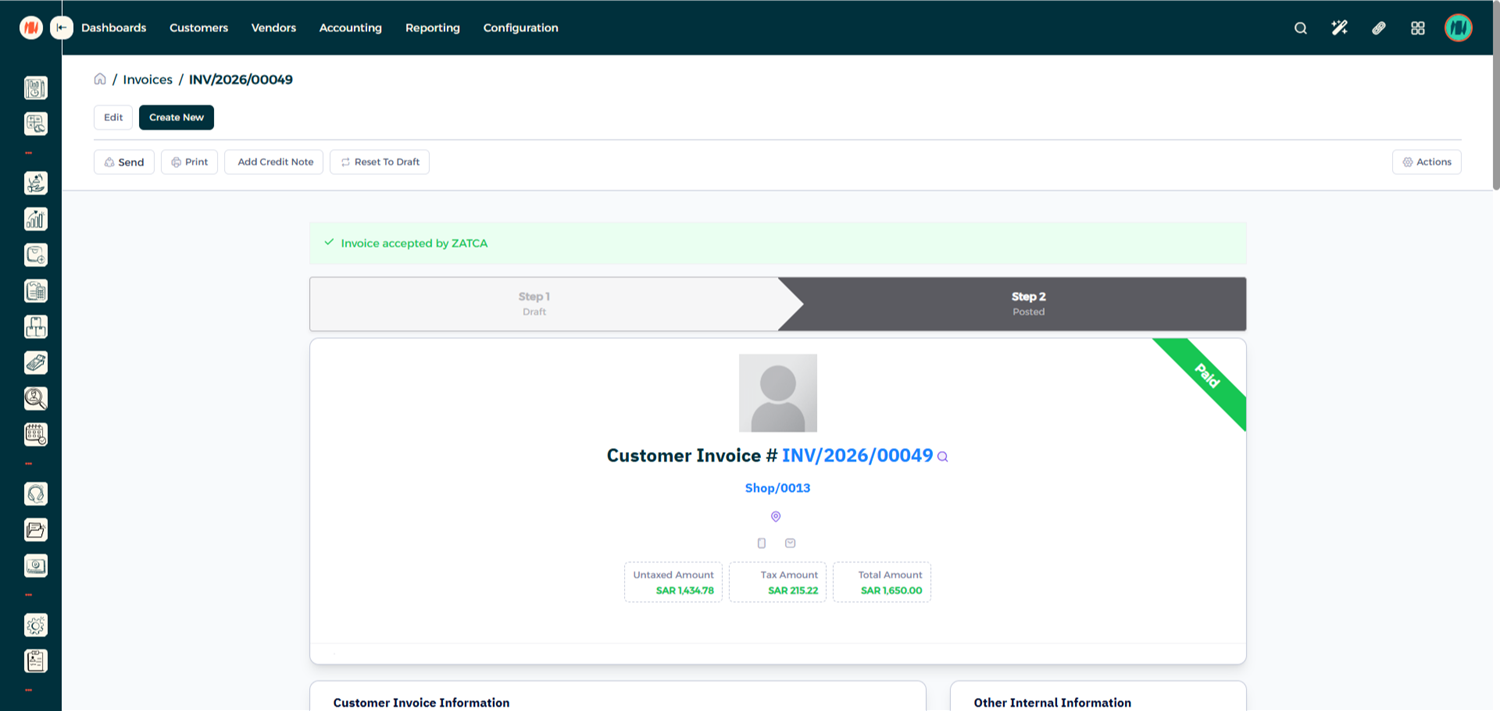
Step 6: Verify the Invoice Submission
To confirm that the invoice has been successfully submitted to ZATCA:
- Go to the Invoice List in the system.
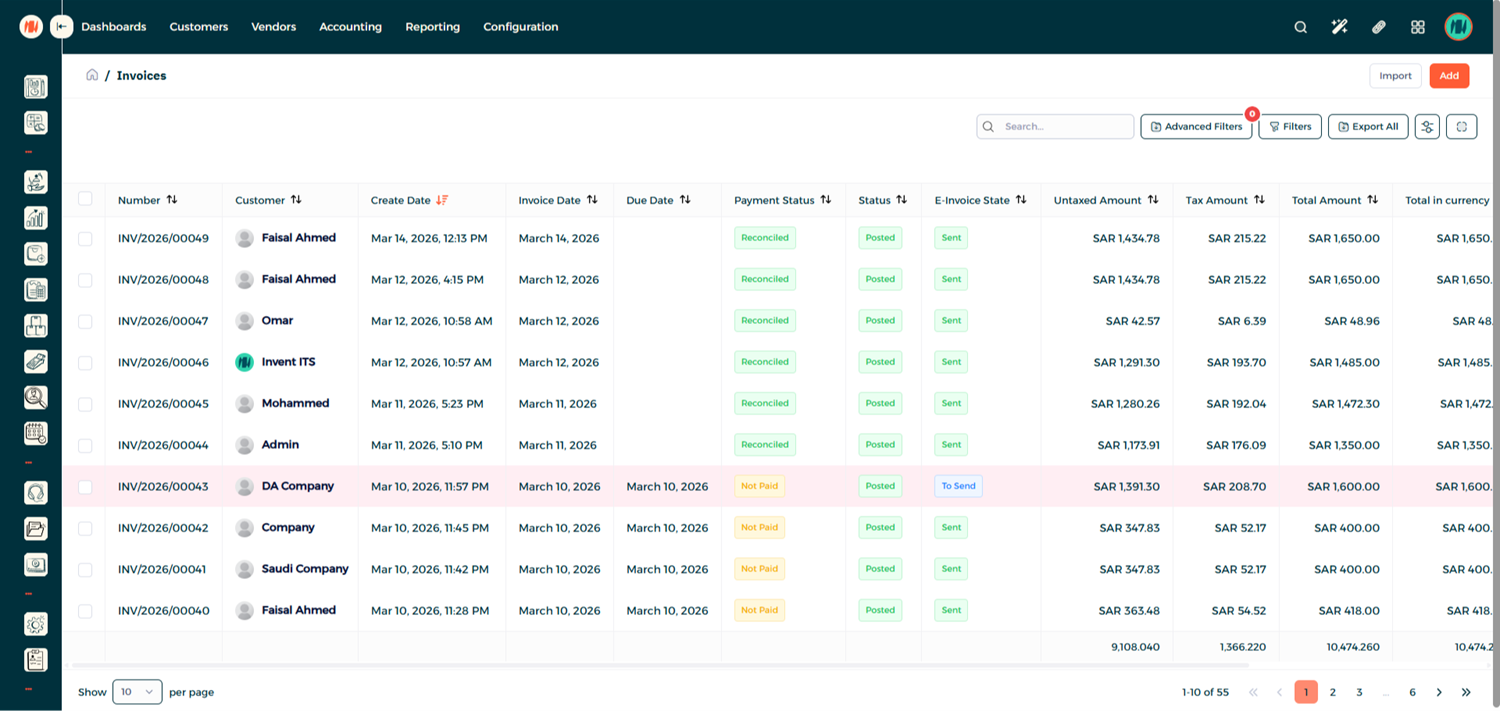
- Open the invoice you just created and you will see that the invoice has been automatically submitted to ZATCA.
Processing a POS Refund
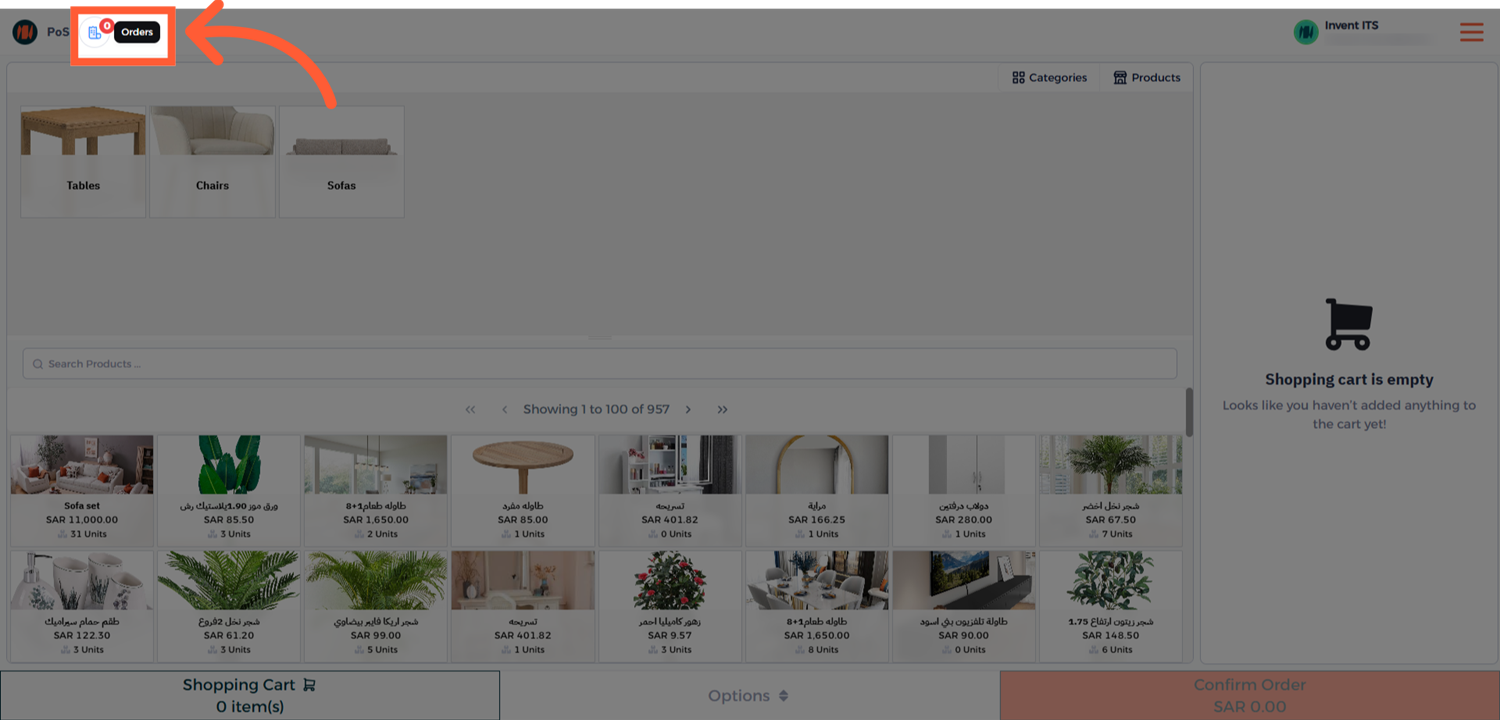
Step 1: Open the Orders Menu
From the POS interface, navigate to Orders → Paid Orders.
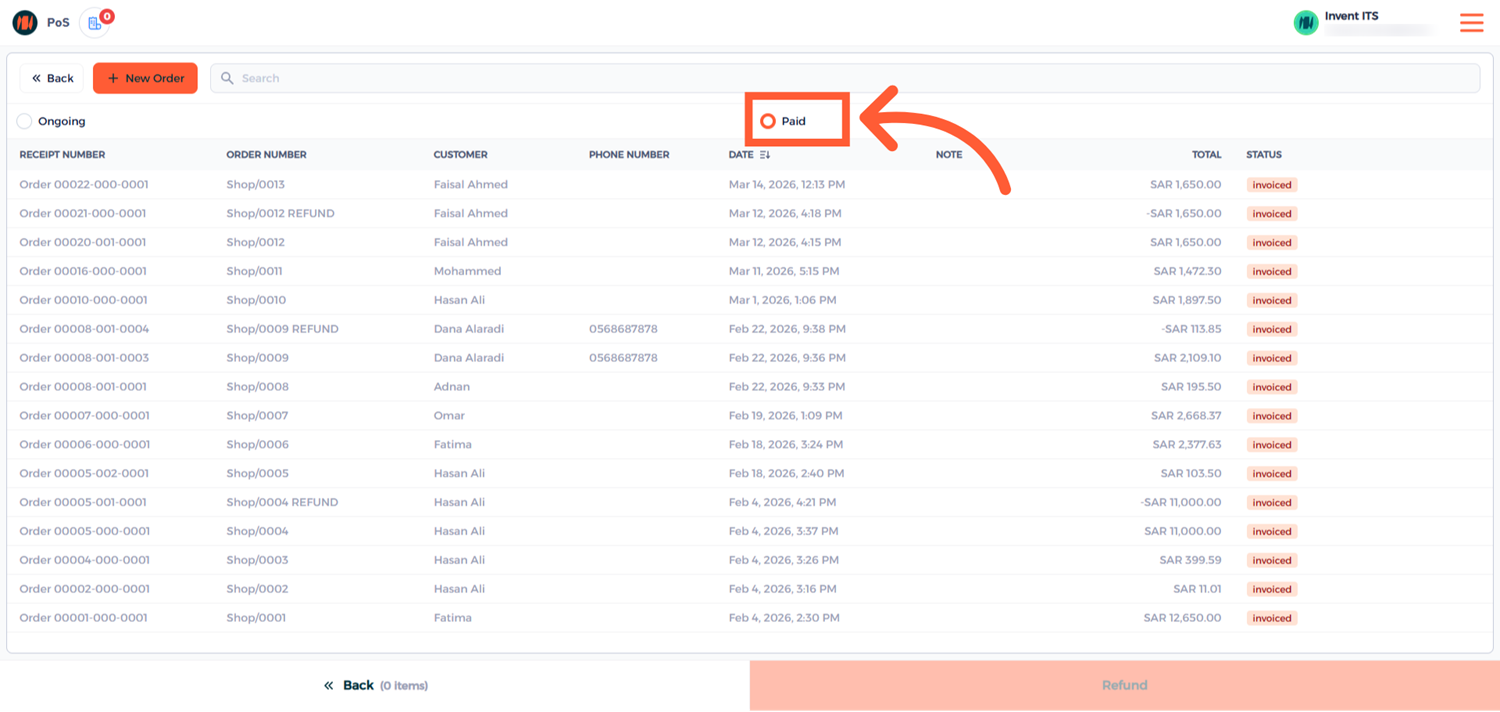
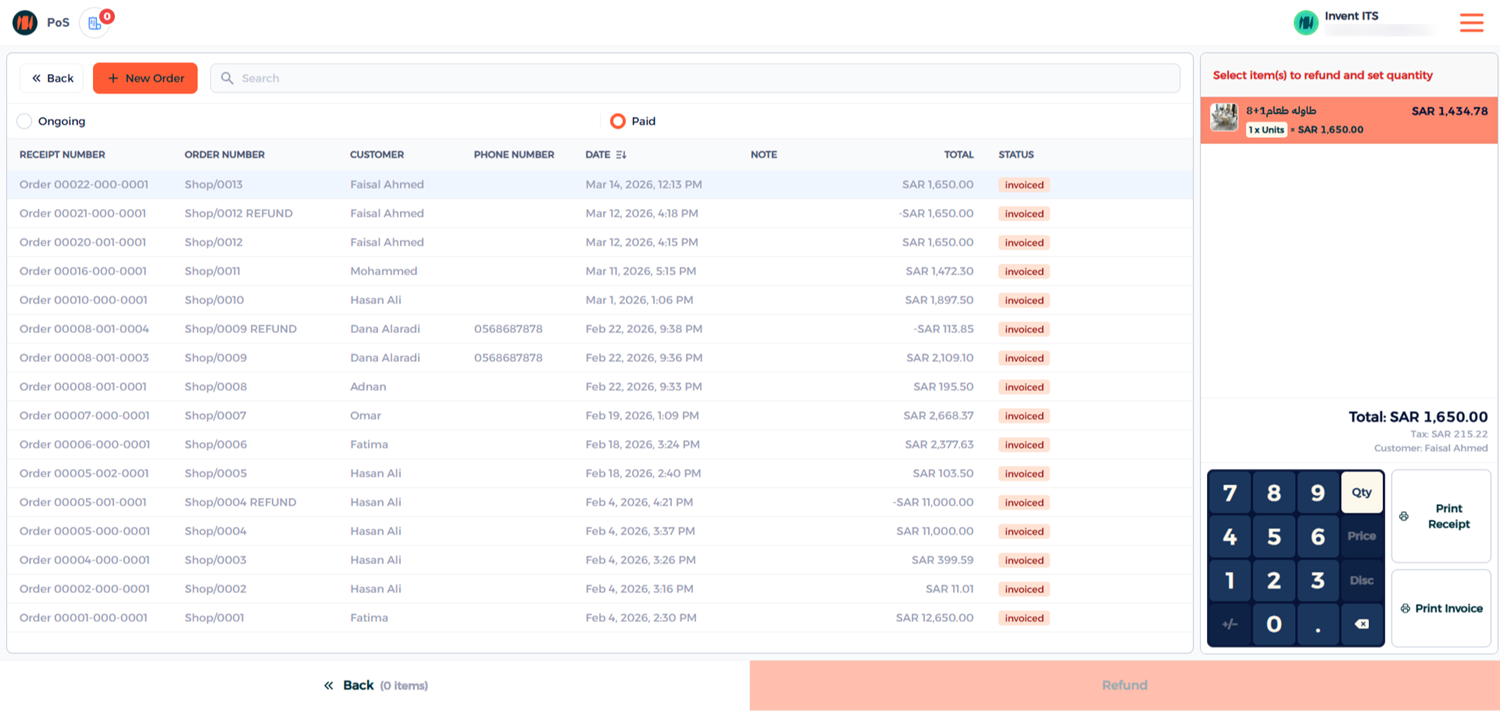
Step 2: Select the Order to Refund
Select the order, enter the quantity of items to refund, and click Refund.
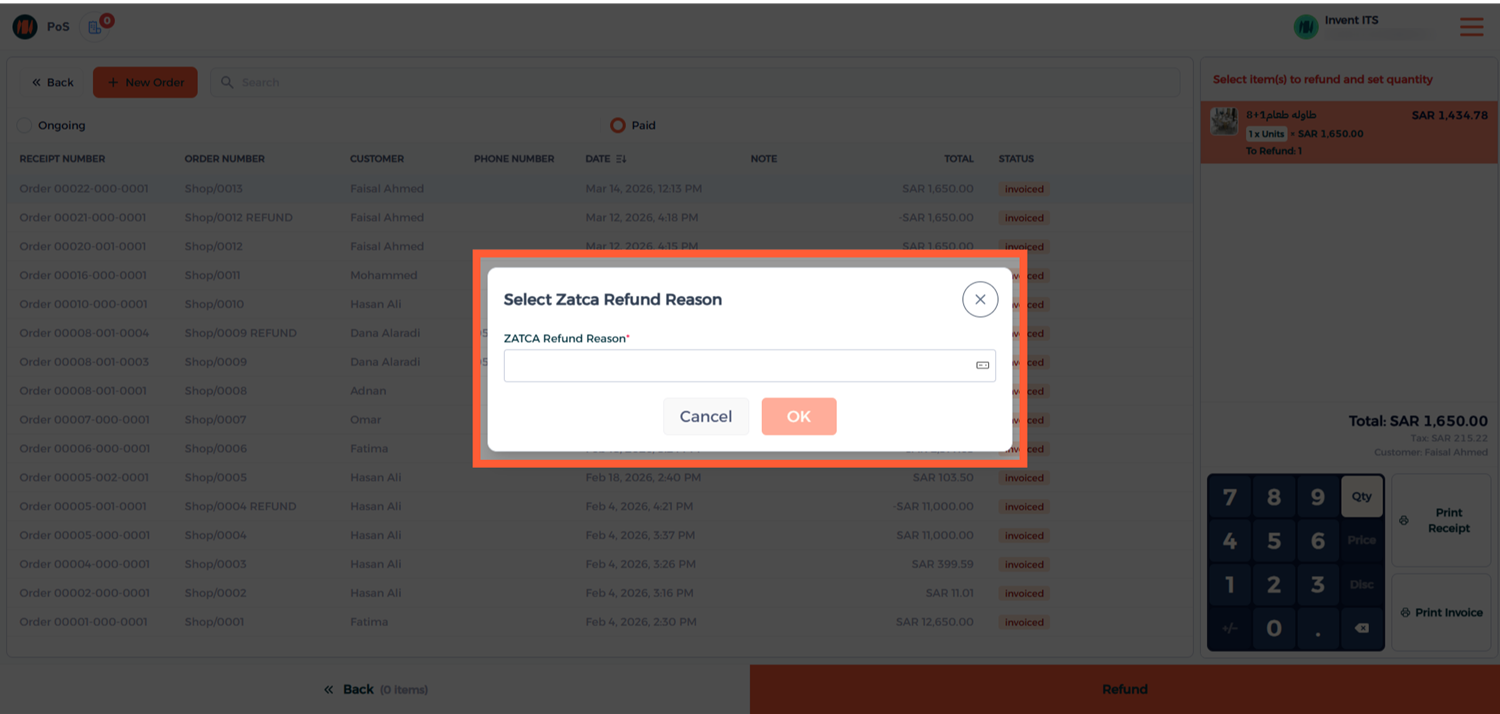
Step 3: Select the Refund Reason
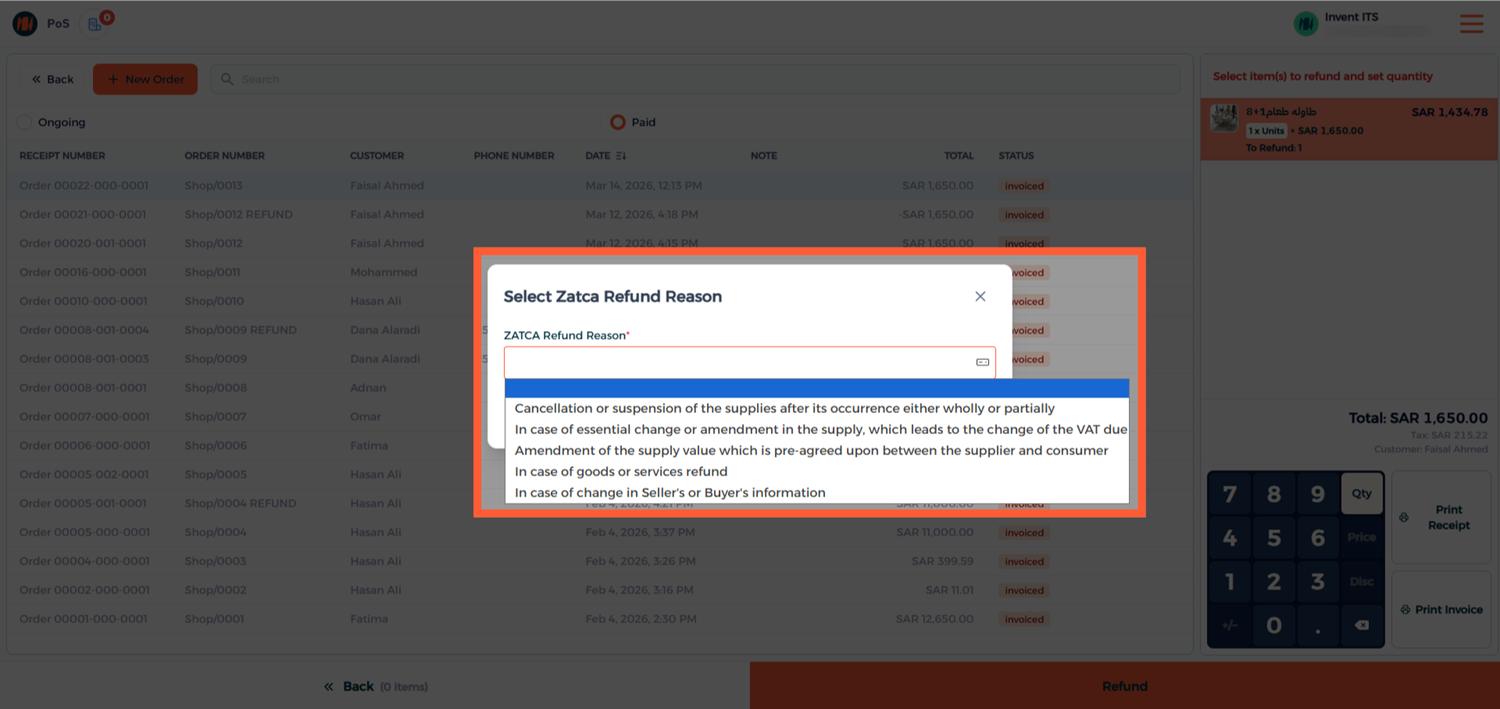
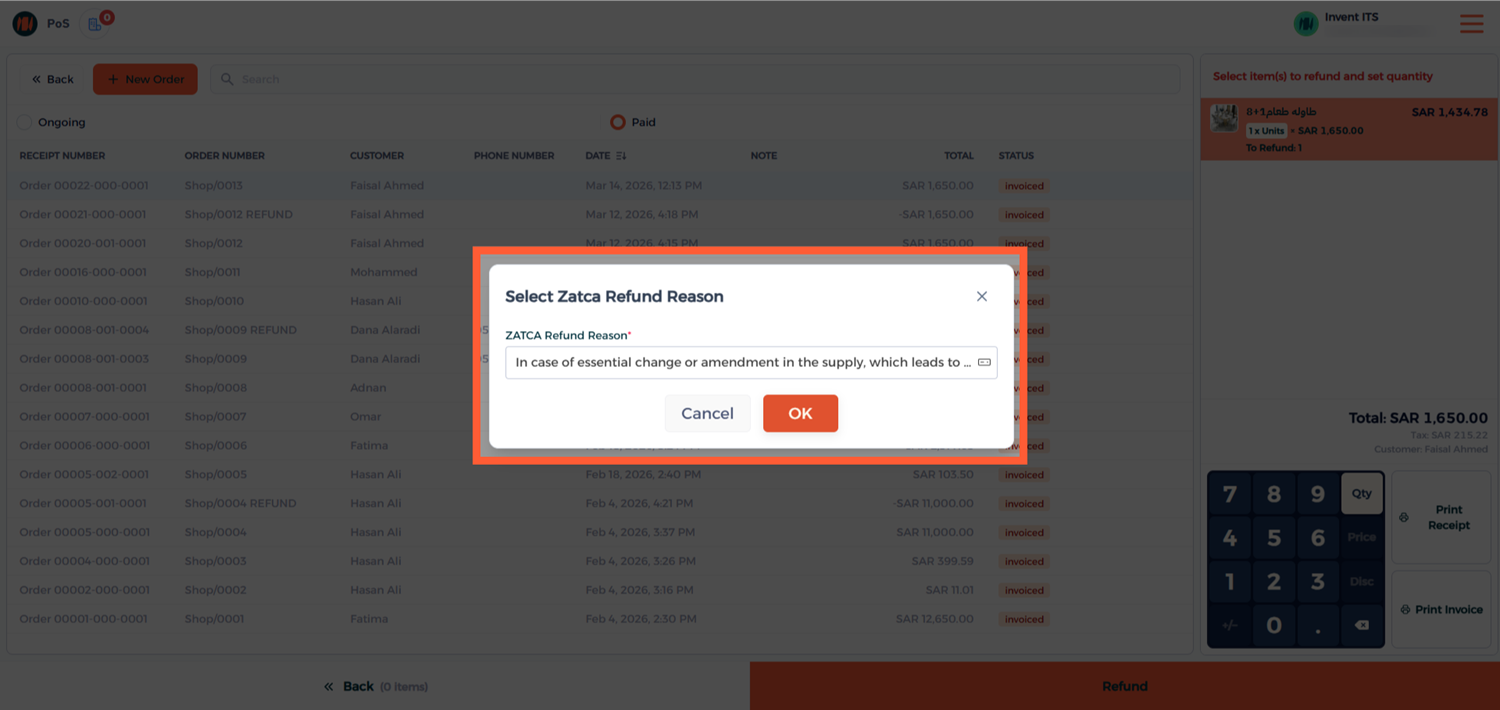
A window will appear displaying ZATCA predefined refund reasons. Select the appropriate reason and click OK.
Select the appropriate reason that matches the refund scenario.
After Selecting, click on OK
Step 4: Confirm the Refund
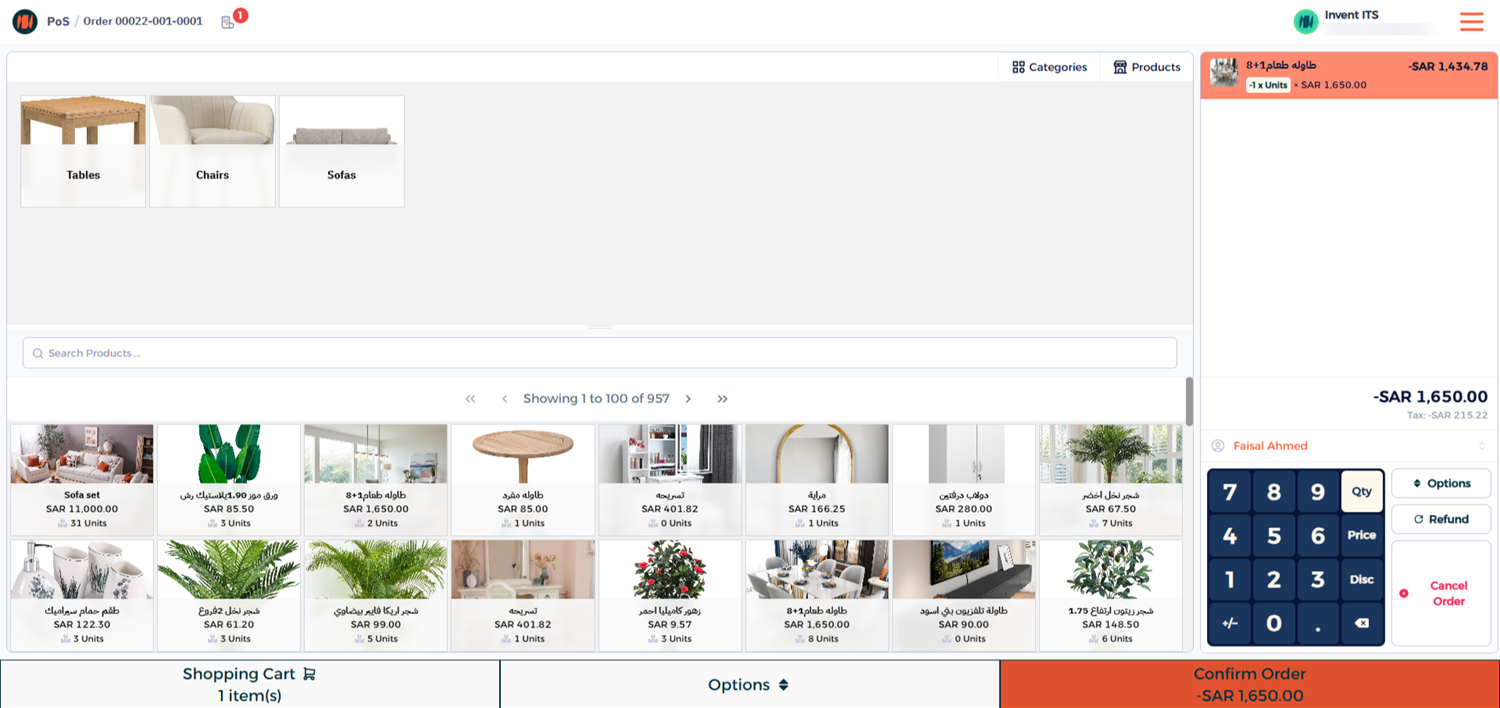
select the Refund Payment Method
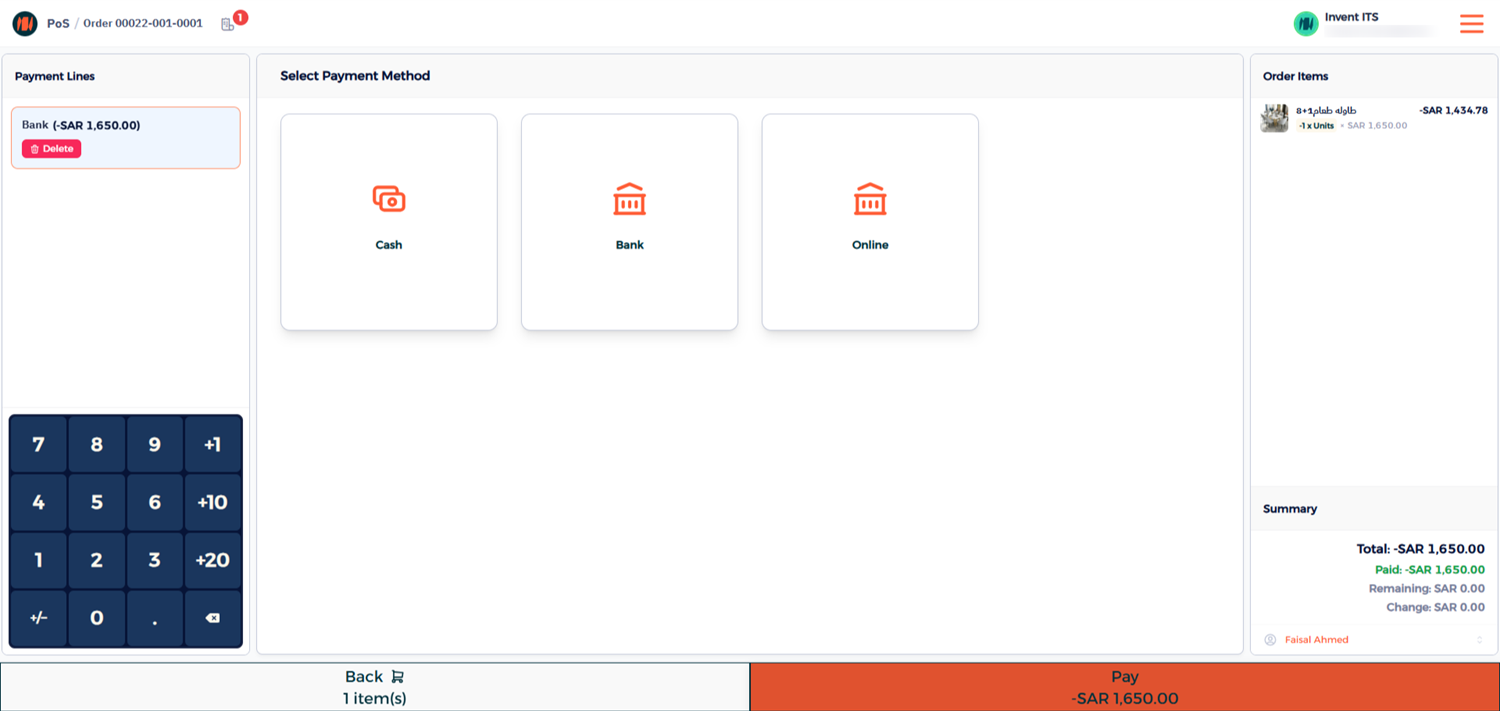
Once completed, the POS will generate a simplified credit note.
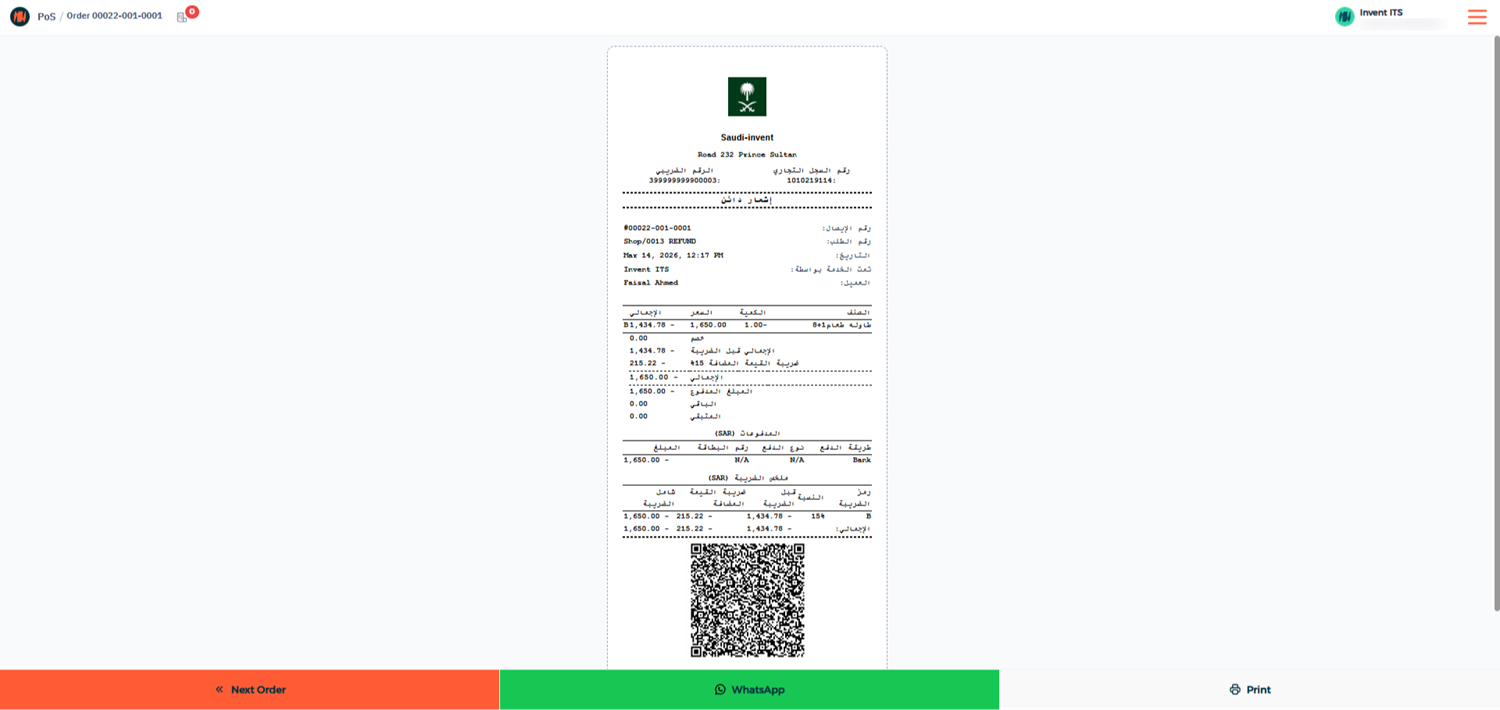
Step 5: Verify the Credit Note
To confirm the refund submission:
- Go to the Invoice List.
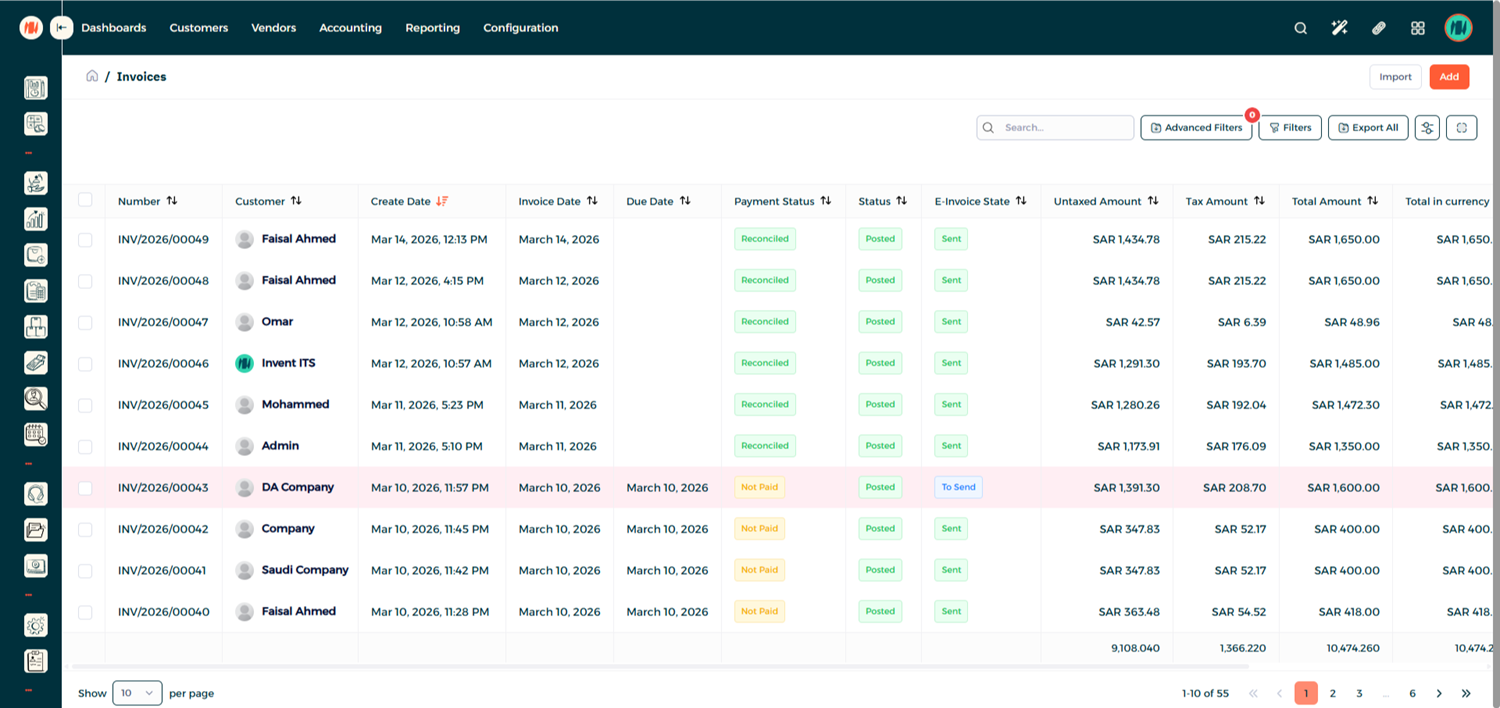
- Open the original invoice related to the order and you will see the linked refund transaction.
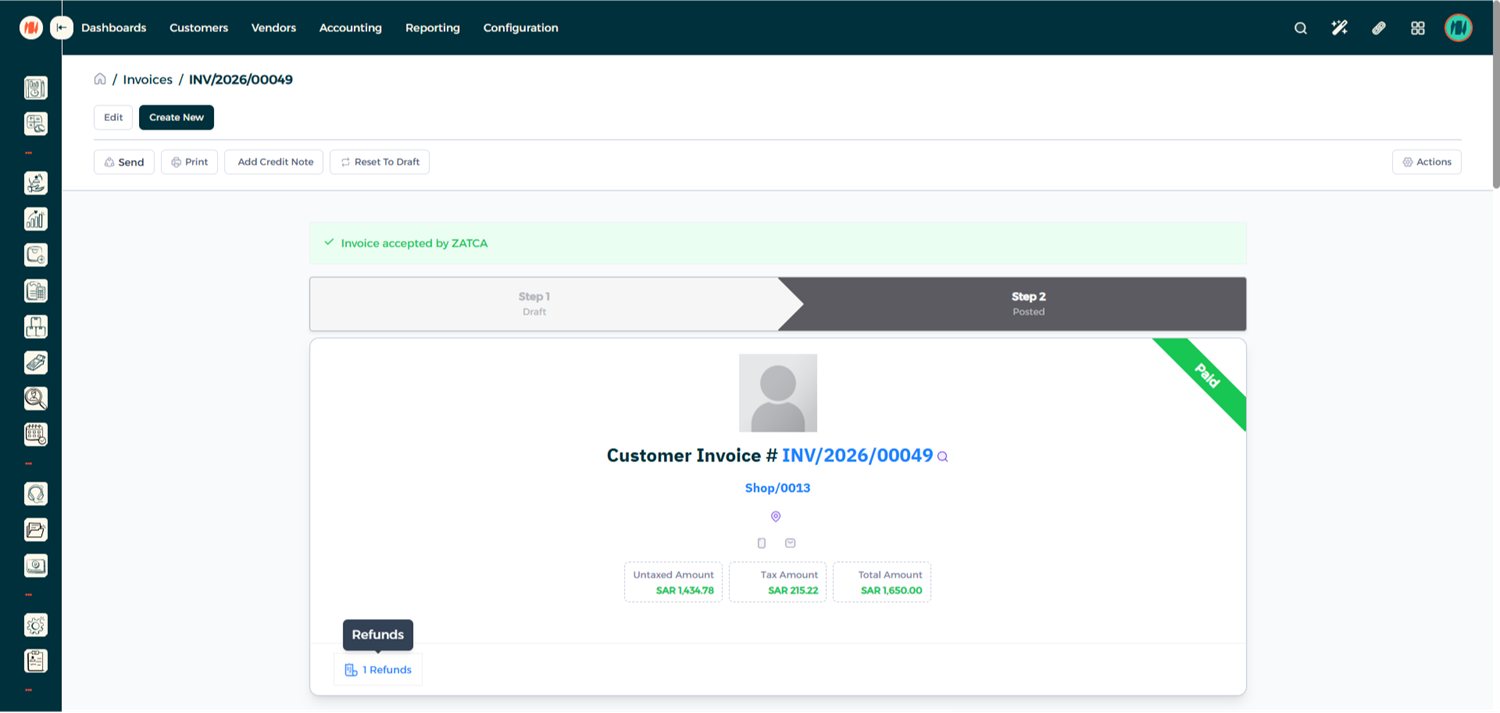
- Click on it to view the credit note, which has also been automatically submitted to ZATCA.
Notes & Tips
- Always select the customer before completing a POS order.
- POS transactions generate simplified invoices.
- Refunds must include a ZATCA predefined refund reason for compliance.